In this tutorial, we’ll guide you through the process of setting up a Debian server with Nextcloud, a popular self-hosted cloud storage solution. Ensure that you have a freshly upgraded Debian installation and an ssh server.
Step 1: Install sudo
Install sudo if it’s not already installed, and add your user to the sudo group, for this example the user is named ‘user’:
su
apt install sudo
gpasswd -a user wheel #
Alternatively, you can add your user to the sudo group using visudo.
Edit /etc/sudoers and add the following to the end of the file:
username ALL=(ALL:ALL) ALL
Step 2: Update the System
Update the system to the latest packages:
sudo apt update
sudo apt upgrade
Step 3: Install Required Packages
Install the necessary packages for Nextcloud and its dependencies:
sudo apt install apache2 mariadb-server mariadb-client libapache2-mod-php php-gd php-json php-mysql php-curl php-mbstring php-intl php-imagick php-xml php-zip php-bcmath php-gmp certbot
Step 4: Prepare Apache and MySQL
Prepare Apache and MariaDB for Nextcloud:
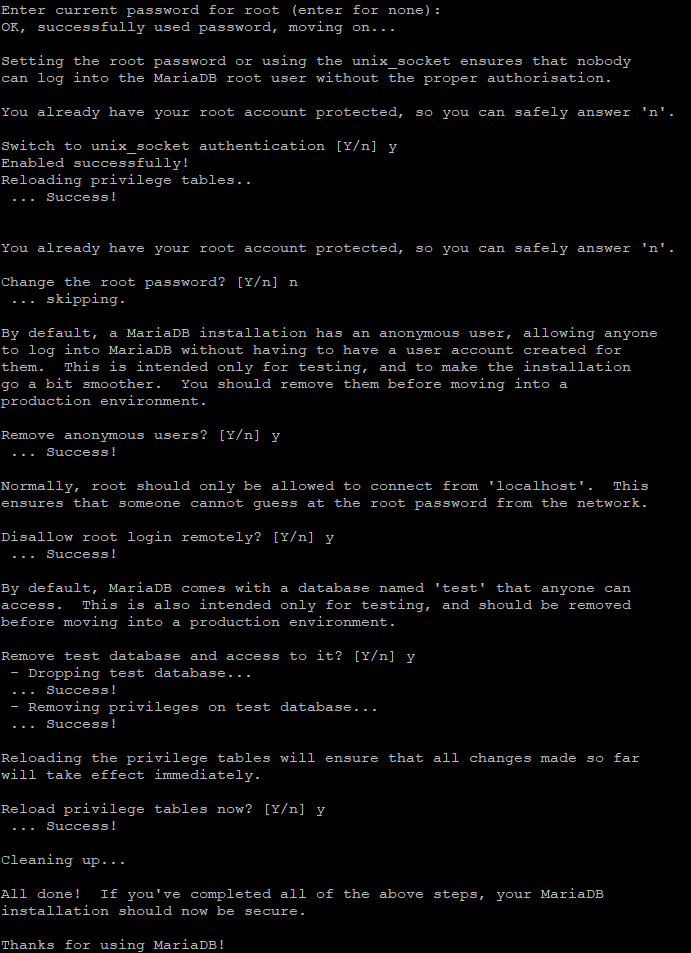
sudo mysql_secure_installation
sudo cp /etc/apache2/sites-available/000-default.conf /etc/apache2/sites-available/nextcloud.conf
Step 5: Create a MySQL Database for Nextcloud
Create a MySQL user and database for Nextcloud:
sudo mysql -u root -p
Enter the root password when prompted, if set.
CREATE USER 'nextcloud'@'localhost' IDENTIFIED BY 'StrongDBP@SSwo$d';
CREATE DATABASE nextcloud;
GRANT ALL PRIVILEGES ON nextcloud.* TO 'nextcloud'@'localhost';
FLUSH PRIVILEGES;
QUIT;
Step 6: Install Additional PHP Packages
Install additional PHP packages:
sudo apt -y install php php-{cli,xml,zip,curl,gd,cgi,mysql,mbstring}
sudo apt -y install apache2 libapache2-mod-php
sudo systemctl restart apache2
sudo apt -y install wget unzip
Step 7: Download and Configure Nextcloud
Download and configure Nextcloud:
cd /var/www/html/
sudo wget https://download.nextcloud.com/server/releases/latest.zip
sudo unzip latest.zip
sudo chown -R www-data:www-data /var/www/html
sudo chmod -R 755 /var/www/html
Step 8: Set Up Data Storage
Set up data storage for Nextcloud, I personally prefer this as I can have a separate drive for the data, feel free to skip this step and use the default storage location.
Mount your data storage device and add an entry in /etc/fstab, 'x' has been used in place of an actual drive, this will be different on your machine:
sudo mkdir /mnt/x
sudo mount /dev/sdxx /mnt/x
sudo blkid /dev/sdxx
sudo nano /etc/fstab
Add an entry like this: # UUIDxxxxxx /mnt/x ext4 defaults 0 0
Find the mount point of the drive and unmount it:
lsblk
umount /dev/sdxx
Test fstab:
sudo mount -a
Check that the drive has mounted correctly:
sudo lsblk
Modify data directory ownership and permissions so that the web server can access the data:
sudo chown -R www-data:www-data /mnt/x
sudo chmod -R 755 /mnt/x
Step 9: Configure Nextcloud
Access Nextcloud through your server’s IP address in a web browser, create an admin user, and configure the database as follows:
Note: if you are prompted for the data directory location and you have changed it in step 8, specify it here, if not don’t worry we can do it manually later.
- Database User: nextcloud
- Database Password: (password set earlier)
- Database Name: nextcloud
- Database Host: localhost
Step 10: Setup Cron Jobs For Nextcloud
Nextcloud performs background tasks using AJAX by default, this is perhaps adequate for a single user environment, however CRON is preferred and much more reliable.
here we will setup a crontab for the web server and configure Nextcloud to use CRON.
First we will create a crontab for the web server user, in our case ‘www-data’ (a debian system using a LAMP stack) .
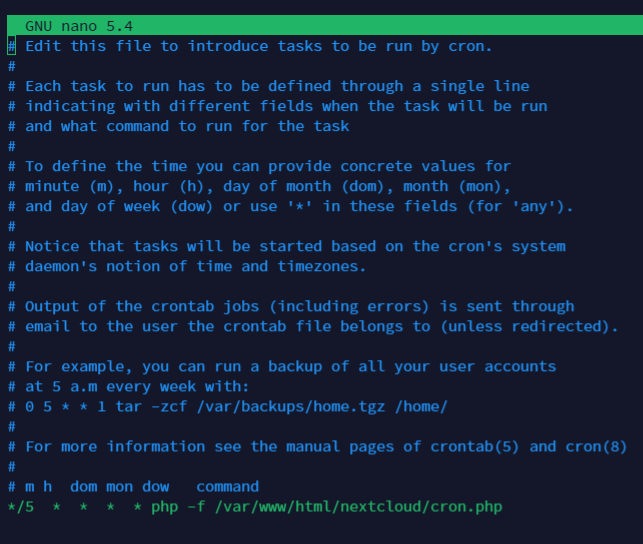
sudo crontab -u www-data -e
If asked to select a text editor for cron, ‘nano’ is often the easier editior to learn.
Type the following below the last text entry, be sure the path is replaced with the location of your Nextcloud instance:
*/5 * * * * php -f /var/www/html/nextcloud/cron.php
Step 11 (Optional): Change Nextcloud Data Folder
If you ever want to change the Nextcloud data folder to your data storage location follow these steps:
Sync data from default location:
change ‘junk’ to any file you want to exclude
or delete ‘–exclude junk’ to copy everything, check file paths
sudo rsync -aAxrv –exclude junk /var/www/html/nextcloud/data/ /mnt/raid/data/
Change permissions and ownership:
sudo chown -R www-data:www-data /mnt/raid/data
sudo chmod -R 755 /mnt/raid/data
Update the config file to point to the new data directory:
sudo nano /var/www/html/nextcloud/config/config.php
Change the data directory to /mnt/raid/data.
Log in to Nextcloud using a browser and a user with admin authority and navigate to administration settings, there will be some things Nextcloud recommends you change to increase performance, please see my guide on how to do this
That’s it! You’ve successfully set up a Debian server with Nextcloud, to optimize Nextcloud please see my post here
Leave a Reply